May 1, 2026
How to Capture VHS Tapes and Post on YouTube
VCR → cheap USB capture card → your computer → YouTube. The whole chain in four steps, no soldering required.
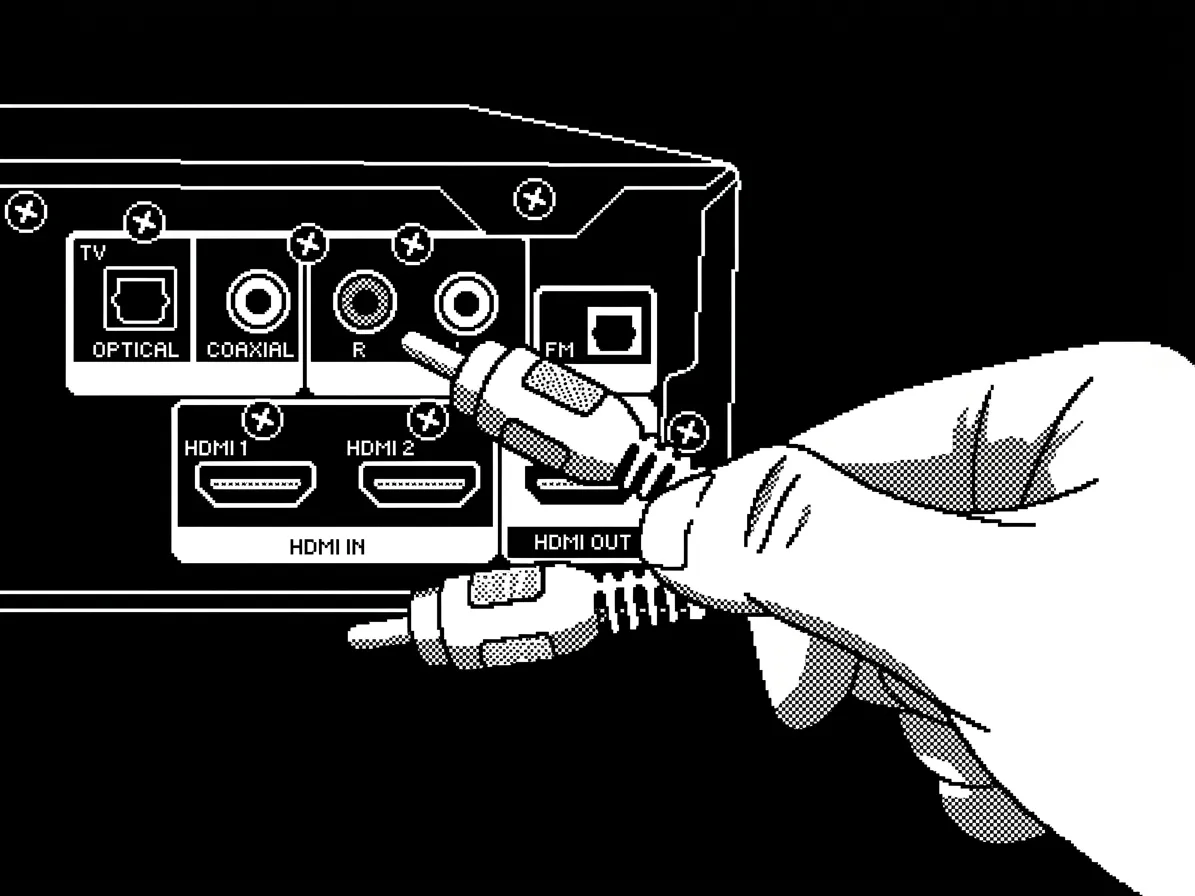
So you’ve got a stack of VHS tapes you want to live on the internet forever. Cool. Here’s how to do that without a $400 setup or learning to solder.
The whole chain
It’s dumb-simple: VCR → cheap USB capture card → your computer → YouTube. That’s it. The capture card is the magic. Once it’s plugged in, your VCR shows up to your computer as just another video input — like a webcam. Anything that records from a webcam can record from your VCR. Including our recorder, but also OBS, QuickTime, whatever you already use.
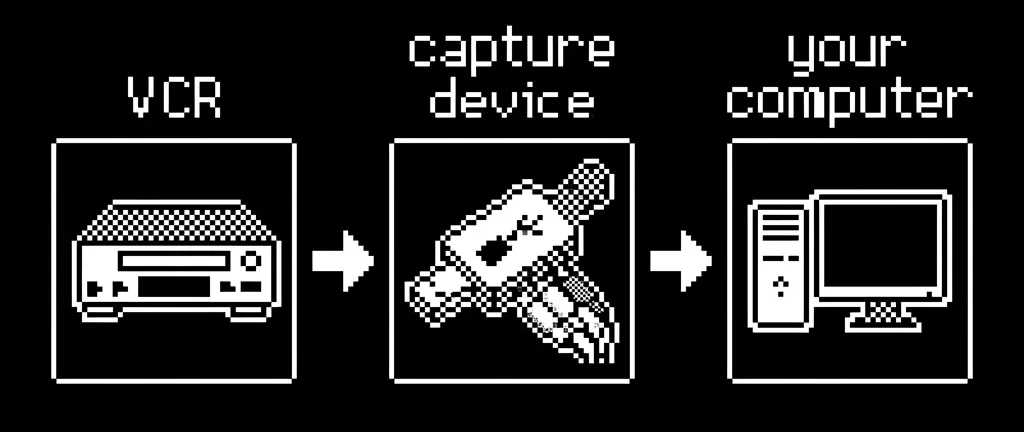
That little dongle works on a desktop, a laptop, even an iPad in some cases. Mac, Windows, Linux — all good.
There are people out there cracking open VCRs and soldering directly to the chroma decoder for cleaner color and bypassing all the analog noise. We see you. We respect you. We are not those people. We are trying to dump some bowling commercials and a 1996 little league championship onto YouTube before the tape eats itself. A $15 USB stick is plenty.
1. Have a working VCR
If yours is in a drawer, get it out. Check the belt isn’t a sticky brown blob (this happens — search “VCR belt rot” if you want to ruin your afternoon). Plug it in, eject button works, fast-forward sounds like a small jet engine — green light.
Don’t have one? Goodwill, eBay, the Facebook Marketplace listing where someone is selling their dad’s whole entertainment center. Working JVC and Panasonic 4-heads from the late ’90s are everywhere for $20–40. Look for “hi-fi” on the label if you care about audio (you should).
2. Use a USB capture card
This is the only purchase that actually matters. You want a USB-A or USB-C dongle with RCA inputs — the yellow / red / white jacks on the back of every VCR ever made. The cheap ones work fine.
Hook it up:
- VCR’s yellow RCA out → capture card’s yellow RCA in
- VCR’s red + white audio outs → capture card’s red + white audio ins
- Capture card USB → your computer
That’s the whole hardware setup. The minute your computer recognizes the capture card as a video device, you’re done with the gear-buying part of this hobby.
A couple of notes:
- It really does just look like a webcam. Open your system’s camera settings or any browser-based recording tool and you’ll see the capture card as an input option, sitting next to “FaceTime HD Camera” like it belongs there. Press play on the VCR and you’ll see the tape playing in the preview.
- S-Video (the round black connector) is sharper than RCA composite if your VCR has it. The capture card we link above takes both. Use whichever you’ve got — composite is fine.
- Don’t overthink the dongle. They’re all basically the same chip in a slightly different plastic shell. A $15 one and a $35 one will give you indistinguishable results for our purposes. If you ever upgrade to time-base correctors or rack-mount production gear, you’ll know. Today is not that day.
3. Record with VHS Garage Recorder
Open the recorder in Chrome. (Yes, Chrome only — we use the File System Access API to write recordings straight to disk and Safari / Firefox don’t support it yet. Sorry.)
Pick a save folder on your computer, pick your capture card from the device list, hit record, press play on the VCR. Record what you want, hit stop. The video file lands directly on your disk — no upload-to-cloud middleman, nothing held hostage on someone else’s server.
While you’ve got the tape in front of you, the recorder will let you:
- Snap a photo of the front + back of the VHS sleeve (with your webcam, the same way you’d take a passport photo) — these get saved alongside the video
- Run those sleeve photos through AI to auto-fill year / distributor / tape format / cassette notes
- Pick a thumbnail frame from the recording
- Write or edit the title and description (or let the AI take a swing)
Skip any of that if you just want raw footage on disk. The recorder works fine as a dumb capture tool too.
4. Post to YouTube
Sign in with Google, click Upload to YouTube. The recorder pushes the video file straight from your disk to your channel. Done.
Two things worth knowing:
- Uploads stack and run in the background. Hit upload, the video starts uploading in a toast notification in the corner, and you can immediately start recording the next clip. No staring at a progress bar.
- The AI rewrite button (red sparkle icon at the top of the Clip Info column) generates a title + description from your sleeve photos and any notes you typed. Tweak whatever it gets wrong before publishing. We are not going to lecture you about SEO. The internet has enough of that. Just put your weird home-recorded “Reading Rainbow” episode online and let the algorithm figure it out.
Want more VHS capture tips?
Notes on capture workflows, weird gear we've used, events, and new VHS Garage tools.
Either one works - we only need one. Drop both if you're feeling extra.
That’s the whole thing. Plug the dongle in, press play, hit record, click upload. The hardest part is finding the tapes.